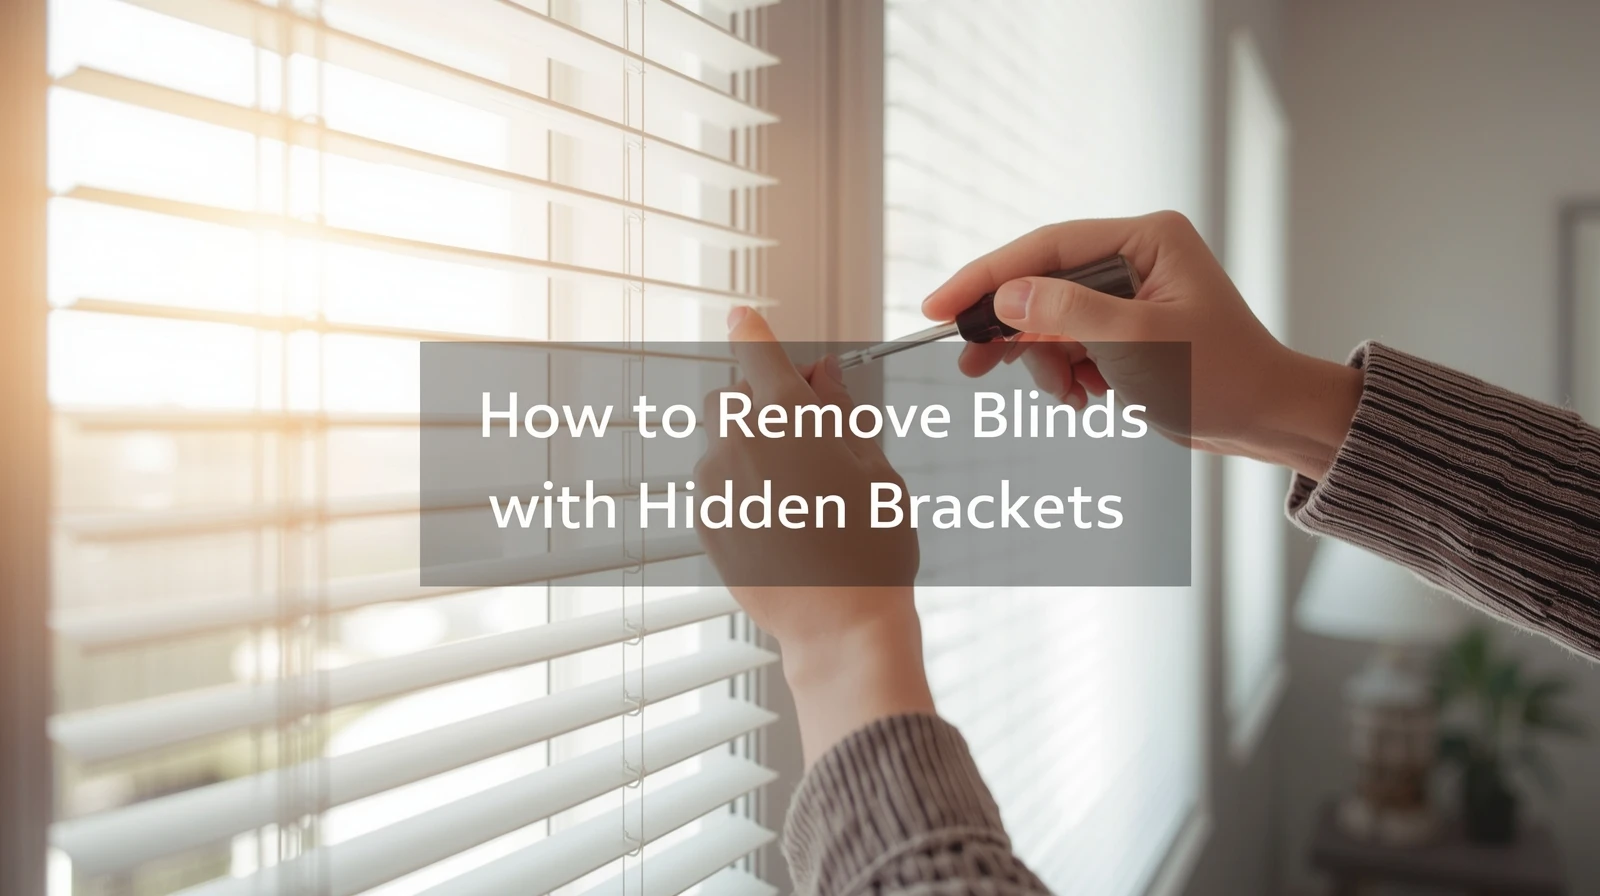
If you are wondering how to remove blinds with hidden brackets, the answer is simpler than it looks. Hidden brackets are small clips that hold the blinds securely without showing any visible screws. To remove blinds safely, all you need to do is locate the tiny latch or release tab on the bracket, press it gently with your fingers or a screwdriver, and lift the headrail outward. This simple process allows you to take down your blinds for cleaning, repairs, or replacement without damaging your wall or window frame.
Understanding the Basics of Blind Removal
Blinds with hidden brackets are one of the cleverest designs in modern window treatments. They give your home a clean, minimal look while securely holding the blinds in place. However, when it’s time to take them down whether for cleaning, maintenance, or redecorating many homeowners get stuck wondering where to start.
Unlike traditional blinds that use visible screws or clips, hidden brackets tuck neatly behind the headrail. You can’t see the release points at first glance, which makes removal confusing. Many people end up pulling or twisting the blinds, only to bend the frame or break the bracket.
The secret to easy removal lies in understanding the design. Each hidden bracket has a small locking mechanism that grips the top of the headrail. By finding and releasing this lock correctly, you can detach your blinds without any force. Once you understand this simple mechanism, you’ll be able to remove nearly any type of blind confidently.
Why Knowing the Right Removal Method Matters
Taking blinds down the wrong way might seem like a small mistake, but it can lead to damage that’s expensive to fix. Some people accidentally dent their walls or chip paint around the window frame. Others bend the metal headrail or crack the plastic end caps by forcing the blinds out of place.
Knowing the correct removal method prevents all of that. It also helps if you plan to reinstall the same blinds later. When you remove blinds gently and in the right order, they’ll fit back perfectly without any misalignment.
There’s another reason this knowledge matters safety. Climbing on a chair or step stool to remove blinds can already be tricky. If you don’t know where the brackets are, you’ll spend extra time reaching or tugging, which increases the risk of slipping.
Finally, understanding this process also helps homeowners who plan to upgrade their window treatments. If you’re preparing for new shades, drapery, or motorized blinds, taking down your old ones safely is the first step in any professional installation project.
Tools You’ll Need Before You Start
The best part about removing blinds with hidden brackets is that you don’t need special tools. Most homeowners can do this with basic household items. Preparing ahead of time makes the process smooth and safe.
Here’s what you’ll need:
- A small flathead screwdriver: To press the locking tab or gently lift the clip.
- A step stool or small ladder: For reaching tall windows safely.
- A microfiber cloth or towel: To protect the window sill from scratches.
- A flashlight (optional): Helps you spot the hidden clip if the lighting is dim.
If your blinds are wide or heavy, it’s smart to have a second person help support the other end during removal. This prevents the headrail from bending under its own weight when you release one side.
Also, before you begin, open your blinds completely. This makes the headrail easier to access and ensures the slats don’t get in your way.
Step-by-Step Guide: How to Remove Blinds with Hidden Brackets
Now, let’s walk through the exact steps to safely remove your blinds without causing damage. This process applies to most horizontal and roller blinds with hidden brackets.
Step 1: Open and inspect the blinds
Start by pulling the cord or using the wand to raise the blinds fully. This exposes the headrail and gives you a clear view of the brackets.
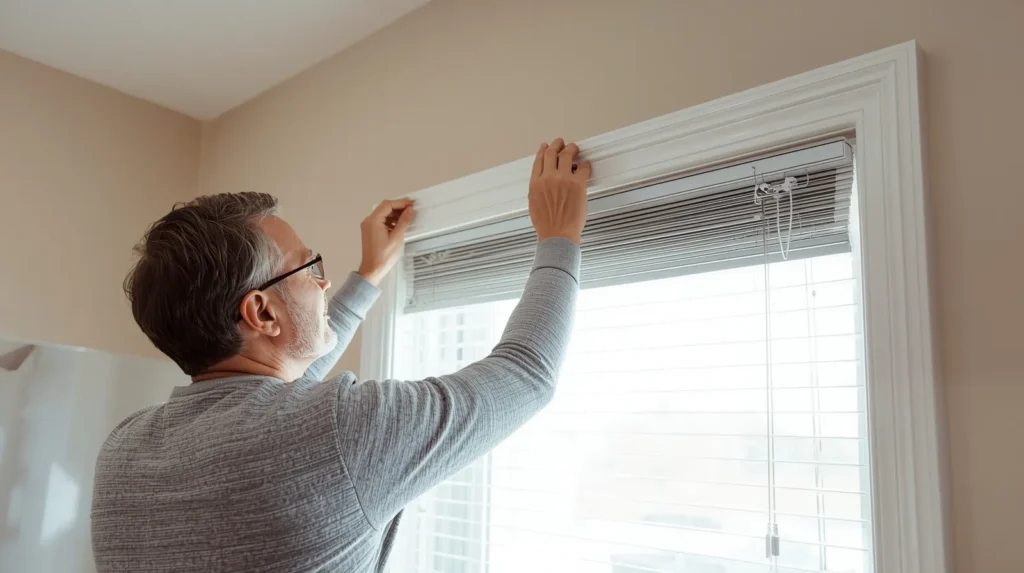
Step 2: Locate the brackets
Most blinds have two brackets one on each end of the headrail. Sometimes there’s a third bracket in the center for wide blinds. These are usually small, rectangular clips tucked behind the headrail.
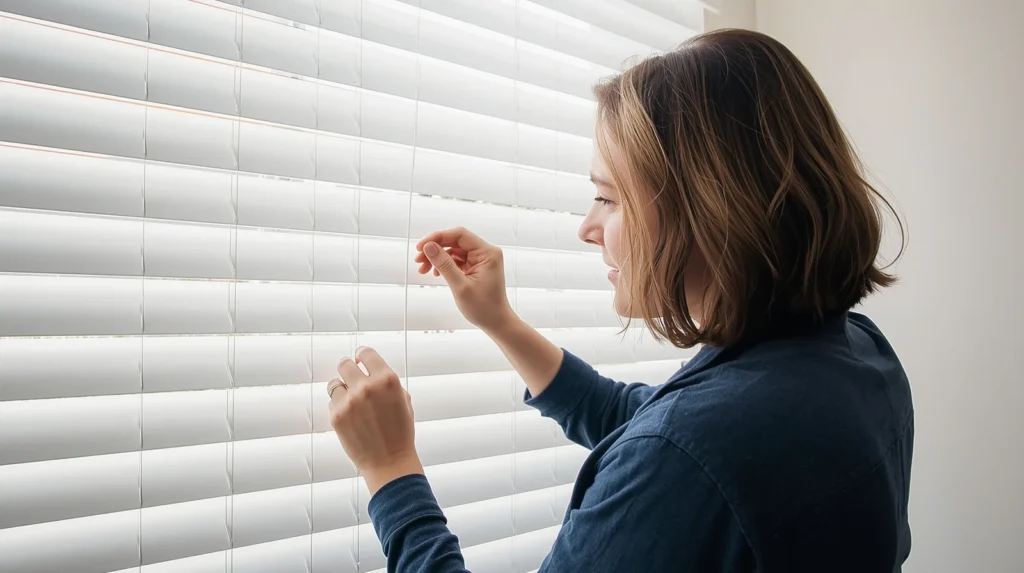
Step 3: Identify the locking side
Feel for a small tab, latch, or flap. It might be located on the front or bottom of the bracket, depending on your blind type.
Step 4: Release the latch
Using your finger or a flathead screwdriver, press or lift the tab gently. You should feel it loosen slightly. Avoid using too much force if it doesn’t move, check whether you’re pressing the right spot.
Step 5: Tilt and lift the headrail
Once the tab releases, tilt the front of the headrail downward and lift it up toward you. This motion frees the headrail from the bracket’s back hook.
Step 6: Remove the blinds
Hold the blinds firmly and pull them away from the window slowly. Avoid twisting, as that can bend the rail or damage the brackets.
And that’s it you’ve successfully removed your blinds without any tools or frustration.
Expert Tip: Take a picture of the brackets before removal. When it’s time to reinstall or upgrade, that photo will remind you of their exact placement and orientation.
Identifying Different Hidden Bracket Types
Not all hidden brackets are built the same way. Manufacturers often use different mechanisms, even if the blinds look similar. Understanding these variations will help you adapt to your specific type.
1. Snap-On Brackets
These are common in modern mini blinds. The headrail snaps into the bracket with a firm click. To remove, you need to pry open the front lip using a screwdriver or by pressing the release tab underneath.
2. Spring-Loaded Brackets
These rely on tension rather than locking clips. Pressing the spring inward releases the headrail. They’re often used in aluminum or vinyl blinds.
3. Front-Lip Brackets
Some blinds have a small cover at the front. You lift this cover up to release the headrail before pulling it forward.
4. Roller Blind Brackets
For roller blinds, one end usually has a spring-loaded pin while the other sits in a stationary bracket. Push the spring side inward, then lift the blind out from the stationary bracket.
Recognizing your bracket type before starting prevents trial and error and keeps your blinds safe during removal.
How to Remove Blinds for Cleaning Without Damage
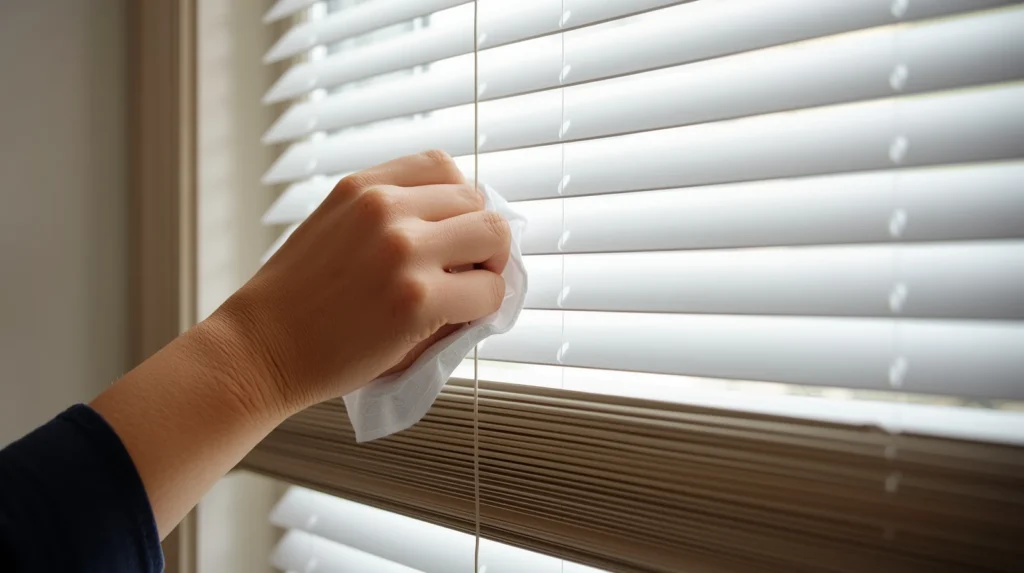
Your blinds collect dust faster than you think. Once you’ve successfully removed them, it’s the perfect time to clean them properly. Doing this not only keeps them looking great but also improves air quality in your home.
Here’s how to clean blinds safely once they’re off the window:
- Dust off loose particles: Use a microfiber cloth or a handheld vacuum with a soft brush attachment.
- Wipe gently: Mix mild soap with warm water and dip a soft cloth into it. Wipe each slat or fabric layer carefully.
- Avoid soaking wooden blinds: Use a barely damp cloth to prevent warping.
- Dry completely: Before reinstalling, let them air dry or pat with a dry towel.
A light cleaning every few months prevents dirt buildup, which can damage materials or make blinds harder to open.
If you plan to upgrade your blinds after cleaning, this is a great opportunity to explore modern designs, textures, and materials that better fit your home’s style.
Common Mistakes Homeowners Should Avoid
Even though removing blinds sounds simple, a few common mistakes can make the task stressful.
1. Forcing the brackets open
If the clip doesn’t release easily, it usually means you’re pressing the wrong side. Forcing it might break the plastic latch or bend the headrail.
2. Pulling the blinds outward too soon
Always ensure both ends are released before pulling. Otherwise, the other bracket could snap.
3. Ignoring safety steps
Standing on unstable chairs instead of a step stool is risky. Always keep balance and use both hands when possible.
4. Skipping protection for window sills
Metal headrails can scratch paint or wood. Place a soft towel underneath to protect your surfaces.
5. Not labeling parts
If you plan to reinstall later, label each bracket and screw so you know where everything belongs.
Learning from these mistakes helps you become more confident in handling future home projects safely.
Maintenance and Care Tips After Blind Removal
Once your blinds are down, it’s the perfect time to inspect them. Look for frayed cords, broken slats, or loose tilt mechanisms. Spotting these small issues early saves you from replacing the whole unit later.
Here’s what you can do next:
- Check the cords and wands: Ensure the pull cords move smoothly without sticking.
- Inspect the slats: Bent or cracked slats can often be replaced individually.
- Clean the headrail: Dust and residue tend to collect along the top; a quick wipe keeps it clean.
- Store properly: If you’re not reinstalling right away, roll or fold blinds gently and wrap them in a soft cloth.
Taking these simple steps keeps your blinds looking neat and working properly for years.
When to Call a Professional Blind Specialist
Some blinds especially wide, tall, or motorized models require professional handling. These types are often heavy, mounted at ceiling height, or connected to smart home systems. Trying to remove or reinstall them yourself can lead to broken brackets or misalignment.
That’s when a professional installer becomes valuable. Experts know exactly how to detach, handle, and reinstall complex systems without causing damage. They use the right tools and ensure your blinds function smoothly once back in place.
This is where Lux Drapery Studio stands out. With years of hands-on experience, the company specializes in professional blind and shade installation. Their skilled installers understand every type of bracket system and make sure each blind is aligned perfectly for smooth operation and a clean, polished look. Whether you’re adding new motorized blinds or upgrading your window treatments, Lux Drapery Studio provides dependable service built on precision and trust.
Why Ponte Vedra, FL Homeowners Trust Lux Drapery Studio
Homeowners in Ponte Vedra, FL value both quality and craftsmanship when it comes to their homes. That’s why so many choose Lux Drapery Studio for their window treatment needs. The company’s reputation is built on reliability, expertise, and a commitment to beautiful results.
Their team understands that every home is unique. They don’t just install blinds; they help homeowners choose the perfect styles, fabrics, and mechanisms that enhance comfort and design. Every project receives personal attention from measurements to installation so clients know their investment will last.
Local residents also appreciate the studio’s honest communication and professional approach. They arrive on time, explain every step clearly, and ensure your blinds are installed with care. It’s this dedication to quality service that makes Lux Drapery Studio a trusted name throughout the community.
Ready to Refresh Your Windows?
Now that you know exactly how to remove blinds with hidden brackets, you can handle your next window project with confidence. Whether you’re cleaning, maintaining, or replacing your blinds, the right approach protects your home’s finishes and ensures your blinds last longer.
If you prefer expert help or want to explore new window treatment designs, Lux Drapery Studio is ready to assist. Their experienced team handles everything from measuring and fitting to professional installation so you can relax and enjoy perfectly fitted blinds that match your home’s style.
Want to upgrade your windows with style and precision? Contact Lux Drapery Studio today for expert installation, tailored solutions, and a free consultation to transform your space with elegance and ease.